**This is an old revision of the document!**
Building OutpostHD from Source
I've tried to make the process of building OutpostHD from source as painless as possible but there are a few things you'll need to do to get it to work right.
Prerequisites
Visual Studio 2019
First and foremost, OutpostHD is built mostly on Windows using Visual Studio 2019. The Community Edition is free and has all the tools needed to build and debug OutpostHD.
During installation, be sure to select the C++, Git, GitHub Extension and NuGet Package Manager in the Individual Components tab. You'll need all of these.

Git
Git is the source code version control tool that's very popular in both open source and enterprise development. OutpostHD is hosted on GitHub.com and you'll need to ensure that git is installed with Visual Studio. By using the GitHub Extension, you can clone the OutpostHD repository from within Visual Studio without having to use 3rd party tools like TortoiseGit.
For more information on what Git is, see the Wikipedia article about it: https://en.wikipedia.org/wiki/Git
vcpkg
In addition to NuGet, some of the dependencies for OutpostHD are only available via vcpkg, a very powerful command line package management system. It is not installed with Visual Studio so you'll need to get it set up manually.
To begin, open a command prompt with administrator privileges. Click on the start button and type in cmd. Right click on Command Prompt and click Run as administrator.
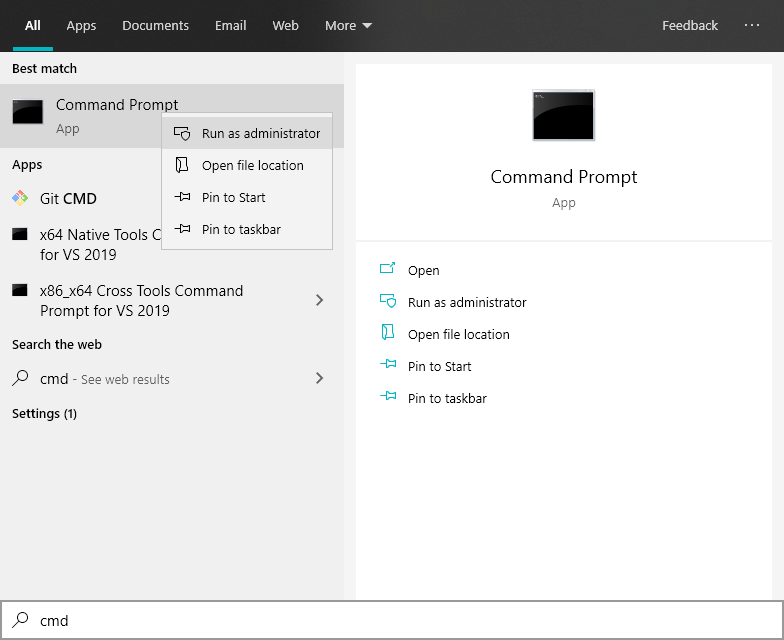
When asked, click Yes and a command prompt will open up.
You can install vcpkg anywhere you want. To make it easy, I'm going to install it in C:\vcpkg. To do that, you'll need to create the directory.
Enter the following commands pressing enter after every line:
cd..
cd..
cls
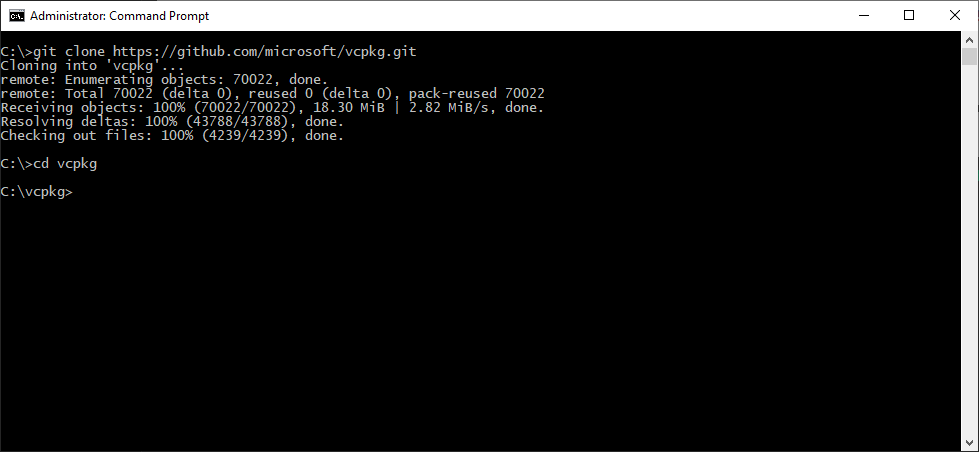
You will now be at the root directory of the C:\ drive (or whatever is your primary disk, usually C:\ but sometimes other letters). Anyway, now we need clone the vcpkg git repository. Type git clone https://github.com/microsoft/vcpkg.git and press enter. Assuming Git is installed properly, the vcpkg repository will be cloned into C:\vcpkg. Now type cd vcpkg and press enter to change to the vcpkg directory.
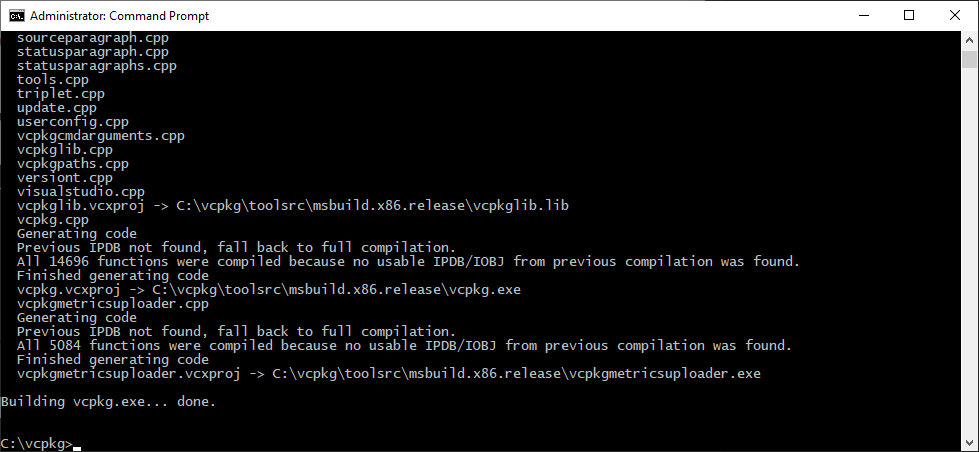
Next you'll type bootstrap-vcpkg and press enter. It will take a few minutes for vcpkg to builds itself. After it finishes your prompt should look like this:
Next we need to integrate vcpkg with Visual Studio. To do this, type vcpkg integrate install and press enter. This will take a minute or two. When the process completes, we need to install the PhysFS and GLEW packages.
We're almost done, we're in the home stretch! Type vcpkg install glew:x86-windows glew:x64-windows physfs:x86-windows physfs:x64-windows and press enter. This will proceed to download and install the 32-bit and 64-bit versions of the GLEW and PhysFS libraries. This process will take awhile, so just hang out and wait for the process to complete.
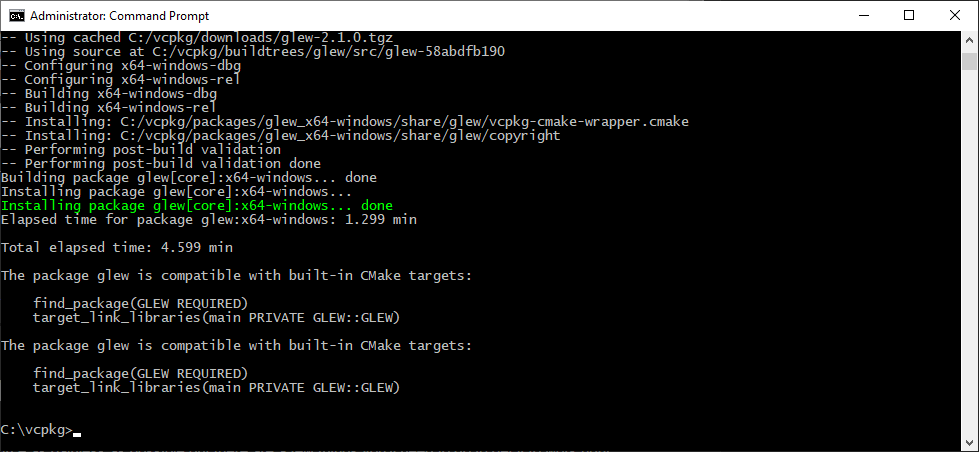
And that's it! vcpkg and the dependencies that OutpostHD will require are installed! You can see on my machine it took about 5 minutes to build but on my laptop it took 20 minutes. You can just let the process work in the background and you're done.